使用Ixxat CAN 接口卡为树莓派扩展CAN接口
1. Ixxat CAN 接口卡
HMS 旗下的Ixxat 品牌提供多种接口形式的PC CAN接口卡
https://www.ixxat.com/zh/home
PC接口形式
- USB
- PCI
- PCIe
- PCIe mini
- M.2
- PMC
支持的操作系统
- Windows 7,8,10,11
- Linux
- Vxworks 7 等实时操作系统
提供的CAN 接口
- CAN
- CAN FD
- LIN
本文介绍如何为树莓派Compute module 4 IO底板通过USB 扩展CAN 接口
使用的产品是USB-to-CAN V2
https://www.ixxat.com/zh/products/pc-interfaces-overview/details/usb-to-can-v2?ordercode=1.01.0281.12001
2. 硬件列表
- 树莓派Compute module 4 核心板

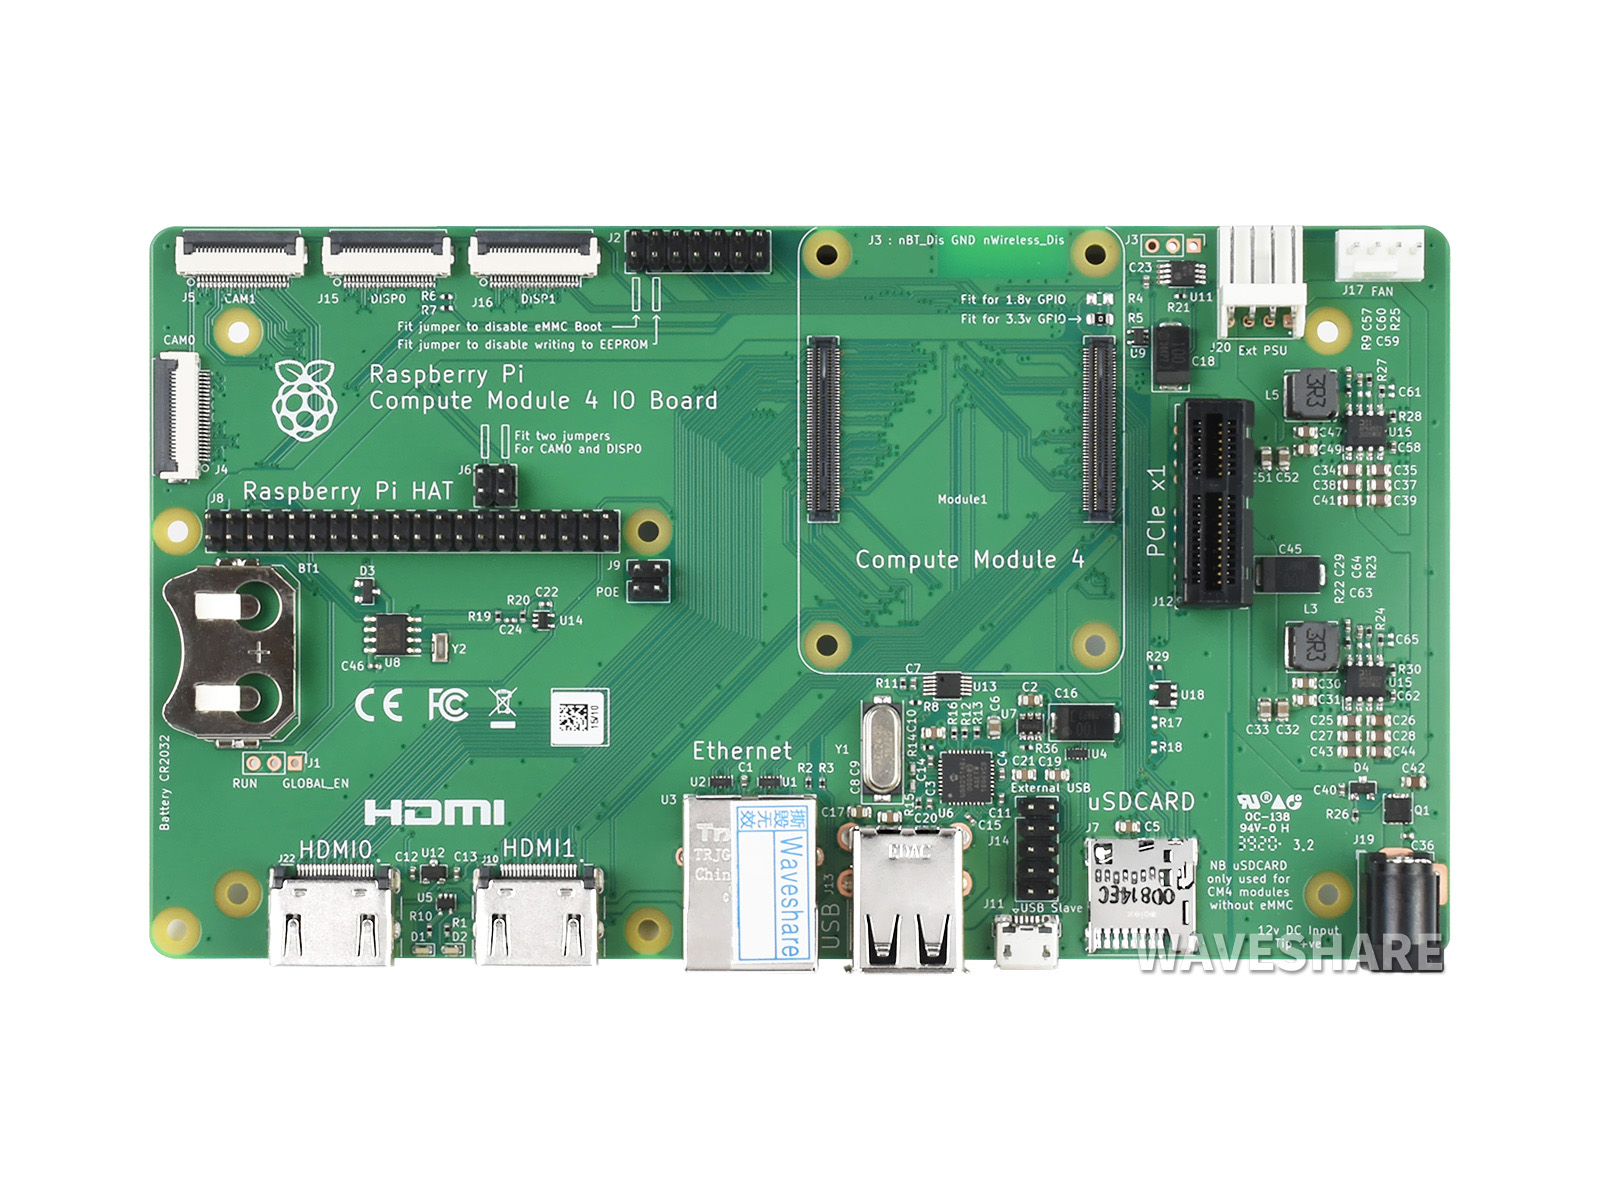
- 树莓派Compute module 4 IO底板
- Ixxat USB-to-CAN V2

3. 硬件安装
将Ixxat USB-to-CAN V2 的USB 接口插入到 Compute module 4 IO底板的USB 插口中
⚠️根据CAN报文的收发机制,测试CAN报文的收发,至少需要连接两个CAN节点
并在CAN总线的两端CANH和CANL之间连接120ohm终端电阻
示例安装
💻节点1 IB200(终端电阻120)<—-CAN H/L 电缆—–>(终端电阻120)节点2 USBtoCAN 💻
4. 驱动
在Linux 系统下, Ixxat 提供两种方式的驱动程序,一种是ECI Driver, 另外一种是SocketCAN Driver
考虑到SocketCAN 提供通用的API, 我们在本文中使用SocketCAN 驱动
驱动下载
在Ixxat 技术支持官网下载SocketCAN Driver 驱动文件
下载页面地址
https://www.ixxat.com/zh/technical-support/resources/downloads-and-documentation?ordercode=1.01.0281.12001
驱动安装
解压下载后的驱动文件,文件夹中的ix_usb_can_2.0 名称起始的文件夹是USB-to-CAN V2 使用的驱动
进入该文件夹进行驱动的配置与安装
Linux kernel header 必要的依赖头文件和编译工具安装
sudo apt install linux-headers-$(uname -r)
sudo apt install --reinstall build-essential
可以使用命令查看依赖的文件和工具是否已经安装
ls /usr/src/linux-headers-$(uname -r)
输出结果
arch  include  Makefile  Module.symvers  scripts  tools
进入驱动文件夹编译和安装
make all
sudo make install
查看驱动是否正确安装
sudo dmesg | grep ix
[    3.638893] vc4-drm gpu: bound fe206000.pixelvalve (ops vc4_crtc_ops [vc4])
[    3.639325] vc4-drm gpu: bound fe207000.pixelvalve (ops vc4_crtc_ops [vc4])
[    3.639716] vc4-drm gpu: bound fe20a000.pixelvalve (ops vc4_crtc_ops [vc4])
[    3.640034] vc4-drm gpu: bound fe216000.pixelvalve (ops vc4_crtc_ops [vc4])
[    3.640432] vc4-drm gpu: bound fec12000.pixelvalve (ops vc4_crtc_ops [vc4])
[  349.068706] ix_usb_can: loading out-of-tree module taints kernel.
[  349.069396] ix_usb_can: KERNELVERSION: 0x60149 (393545)
[  349.104862] ix_usb_can: FwInfo 1.8
[  349.725168] ix_usb_can 1-1.1:1.0 can0: USB-to-CAN_FD: Connected Channel 0 (device HW719254)
[  349.725915] ix_usb_can 1-1.1:1.0 can1: USB-to-CAN_FD: Connected Channel 1 (device HW719254)
[  349.726256] usbcore: registered new interface driver ix_usb_can
如上输出,可以看到ix_usb_can 的两个CAN 通道分别被绑定到了can0 和can1
5. 波特率配置
每次应用在使用Socket CAN 之前需要对CAN 通道进行使能并设置波特率
可以使用以下命令启动CAN通道并设置波特率
sudo ip link set can0 up type can bitrate 250000
然后使用ifconfig 查看can0 的状态
ifconfig
can0: flags=193<UP,RUNNING,NOARP>  mtu 16
        unspec 00-00-00-00-00-00-00-00-00-00-00-00-00-00-00-00  txqueuelen 10  (UNSPEC)
        RX packets 7  bytes 42 (42.0 B)
        RX errors 1  dropped 0  overruns 0  frame 1
        TX packets 0  bytes 0 (0.0 B)
        TX errors 0  dropped 0 overruns 0  carrier 0  collisions 0
或者ip link show命令查看更详细的状态
 ip -d -s link show can0
3: can0: <NOARP,UP,LOWER_UP,ECHO> mtu 16 qdisc pfifo_fast state UP mode DEFAULT group default qlen 10
    link/can  promiscuity 0  allmulti 0 minmtu 0 maxmtu 0
    can state ERROR-ACTIVE (berr-counter tx 0 rx 0) restart-ms 100
          bitrate 250000 sample-point 0.875
          tq 125 prop-seg 13 phase-seg1 14 phase-seg2 4 sjw 1 brp 5
          ifi_can: tseg1 1..32 tseg2 2..33 sjw 1..4 brp 2..257 brp_inc 1
          clock 40000000
          re-started bus-errors arbit-lost error-warn error-pass bus-off
          0          0          0          0          0          0         numtxqueues 1 numrxqueues 1 gso_max_size 65536 gso_max_segs 65535 tso_max_size 65536 tso_max_segs 65535 gro_max_size 65536 parentbus pci parentdev 0000:01:00.0
    RX:  bytes packets errors dropped  missed   mcast
          3551     864      0     147       0       0
    TX:  bytes packets errors dropped carrier collsns
          4578     579      0       0       0       0
开机自动使能CAN通道并设置波特率
sudo nano /etc/network/interfaces.d/can0
输入以下内容,并保存
allow-hotplug can0
iface can0 can static
  bitrate 250000
  restart-ms 100
  txqueuelen 1000
6. CAN 收发测试
可以使用CAN-utils 工具集 测试CAN 消息的收发
安装CAN-utils
sudo apt install can-utils
接收CAN 消息
 candump can0
  can0  703   [1]  7F
  can0  083   [8]  10 81 11 00 00 00 00 00
  can0  083   [8]  00 00 00 00 00 00 00 00
  can0  703   [1]  7F
  can0  083   [8]  10 81 11 00 00 00 00 00
  can0  083   [8]  00 00 00 00 00 00 00 00
  can0  703   [1]  7F
  can0  083   [8]  10 81 11 00 00 00 00 00
  can0  083   [8]  00 00 00 00 00 00 00 00
  can0  703   [1]  7F
  can0  083   [8]  10 81 11 00 00 00 00 00
  can0  083   [8]  00 00 00 00 00 00 00 00
  can0  703   [1]  7F
  can0  083   [8]  10 81 11 00 00 00 00 00
  can0  083   [8]  00 00 00 00 00 00 00 00
  can0  703   [1]  7F
  can0  083   [8]  10 81 11 00 00 00 00 00
  can0  083   [8]  00 00 00 00 00 00 00 00
测试时发现candump 不会显示自身节点发送的数据,只显示接收到的其他节点报文
如果需要candump显示自身节点发送出去的报文,需在配置CAN接口时使能loopback 功能
sudo nano /etc/network/interfaces.d/can1

allow-hotplug can1
iface can1 can static
bitrate 250000
restart-ms 100
txqueuelen 1000
loopback on
🔌 重启生效
发送CAN 消息
#For example to send a message with
#identifier 0x123
#and
#payload [0x40,0x00,0x10,0x00,0x00,0x00,0x0,0x000]

cansend can0 603#4000100000000000
